
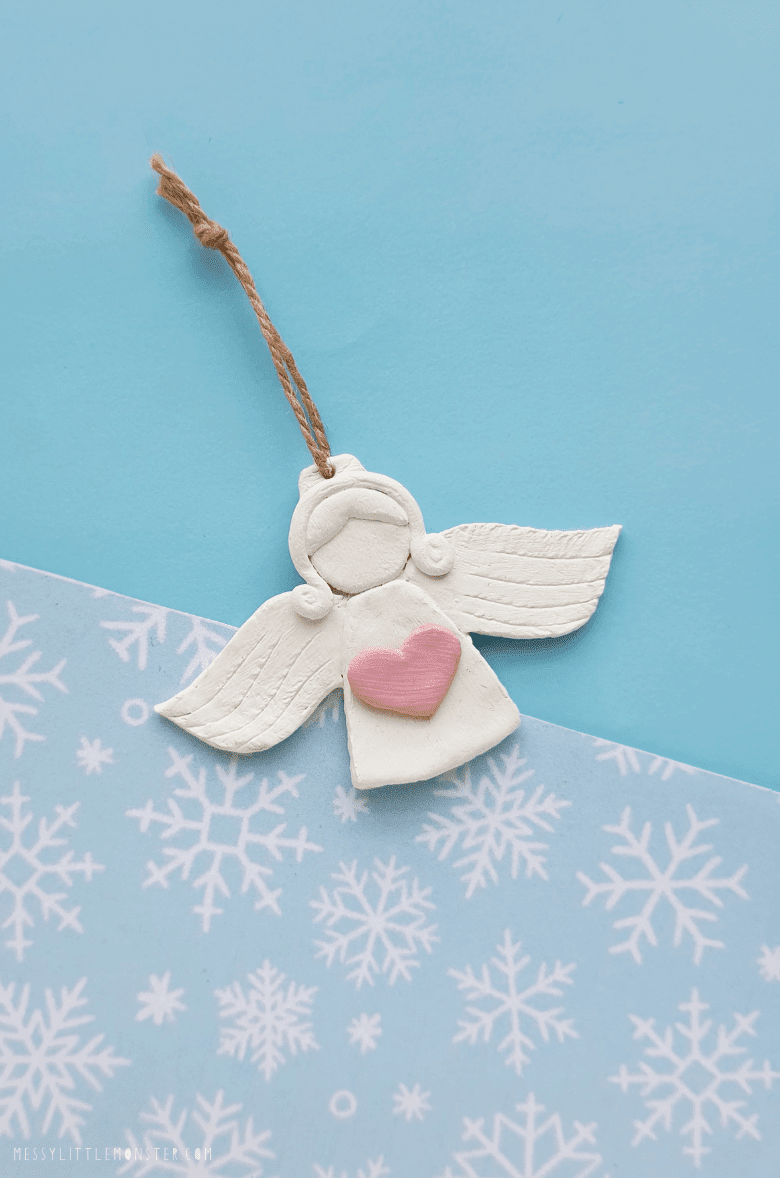
These DIY angel ornaments are perfect for decorating the Christmas tree, but they would also make beautiful homemade gifts. If you enjoy making DIY ornaments, do check out our salt dough ornaments too!
The tactile nature of clay makes it popular with children of all ages (and adults too!). Whilst older children could follow the directions for this clay angel ornament independently, younger children may need a little help with the more fiddly steps.

Clay is an amazing resource for letting children express their creativity while working on their motor skills, and strengthening their hand-eye coordination and dexterity.
If your child enjoys using air dry clay then they might also like to take a look at some of our air dry clay bowls. For the youngest children, our clay footprint bowl is perfect, making a clay leaf bowl is great for all ages and for those children who would like a more detailed clay craft our air dry clay cat bowl or our clay unicorn bowl is great fun.
We hope that you have great fun making your own air dry clay angel ornament craft. If you want to explore the theme of angels even further and create more angel crafts check out these fun ideas!
Clay Angel Ornament Craft
Clay angel craft - supplies:
- Air dry clay
- Clay cutting knife
- Rolling board
- Rolling pin
- Acrylic paint
- Paintbrush
How to make a DIY clay angel ornament
STEP 1: Get the angel template
Before beginning your air dry clay angel craft you will need to scroll down to get a copy of the angel template. Print the template onto white paper and cut out each shape.
STEP 2: Roll out clay and cut out shapes
Roll out your air dry clay so it is about 0.5cm thick using a rolling pin. Then place the cut out angel shapes from the template onto the rolled out clay. Use a clay knife to carefully trace around each shape.
STEP 3: Smooth clay shapes and roll a clay rope for hair
Carefully remove the excess clay around the edge of the shapes you have cut out an then use the tip of your fingers to smoothen the edges of the cutout clay pieces.
For the angel's hair as well as the small front piece of hair you have already cut out you will need to roll out a thin clay rope. It will need to be long enough to create hair with twirls on both ends of it.
STEP 4: Add texture to the angel's wings and attach the angel's hair to it's head
Use something sharp to draw lines on the clay wings. At this stage, you can also attach the small front hair cutout to the top side of the head cutout. To join the two pieces score lines on both pieces of clay and add a small amount of water before sticking them together.
STEP 5: Put your clay angel together
Lightly place the angel's dress on the bottom half of the base piece to give you an idea of where to place the head (you will be removing the dress in the next step)
In the space above the dress attach the angels head to the base piece. As you did with the angels hair, join the two pieces together by scoring lines on both the back of the head cutout and the base piece of clay and add a small amount of water before sticking them together.
Now carefully remove the dress cutout and place the wings on the base piece just below the angels head. Use a sharp needle (or something similar) to attach the edges of the wings to the base as shown below.
Then attach the dress to the bottom side of the base pattern to cover where you have joined the wings. Again score both pieces of clay and use a small amount of water to attach the pieces of clay together.
To complete the angel's hair create twirls on both sides of the clay rope and wrap it around the top side of the head, keeping the twirls on both sides (left and right).
Use a needle to create a hole at the very top of the clay base. Allow the air dry clay angel to dry overnight.
Also, leave your clay heart cutout to dry.
STEP 6 : Add string to your clay angel ornament
Once your clay has dried thread a piece of string through the hole on the top side of the clay angel. Tie both open ends of the string together to form a loop.
STEP 7: Paint and attach clay heart
Paint the clay heart with acrylic paint. Once the paint has dried use craft glue to attach the heart to the angel's dress. We created a pink heart, but you can of course vary the colour of the heart.
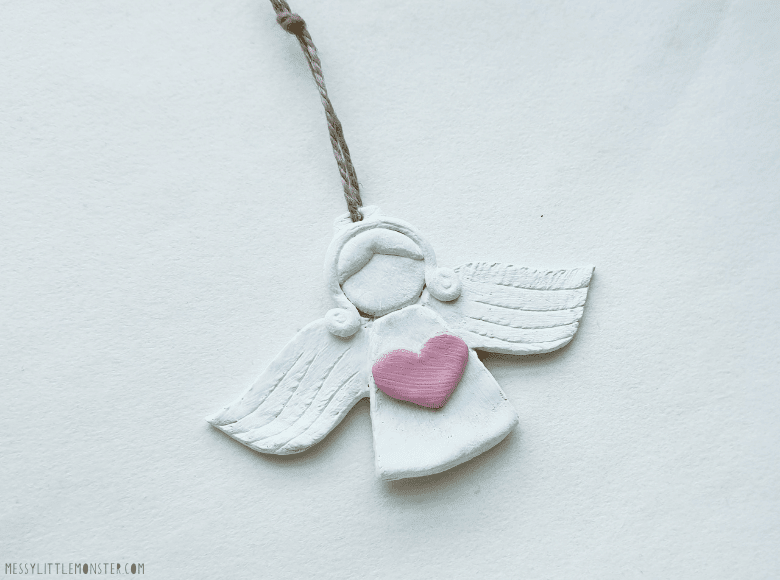
Your DIY clay angel ornament is now complete and ready to be hung on your Christmas tree.
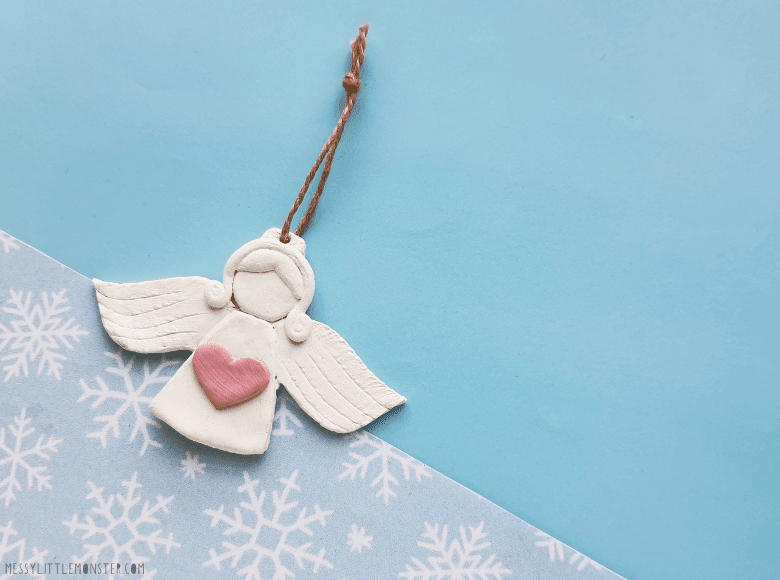
These clay angel ornaments would make beautiful gifts for family and friends. You could even use a thin marker to add a name to the heart shape to personalise them.
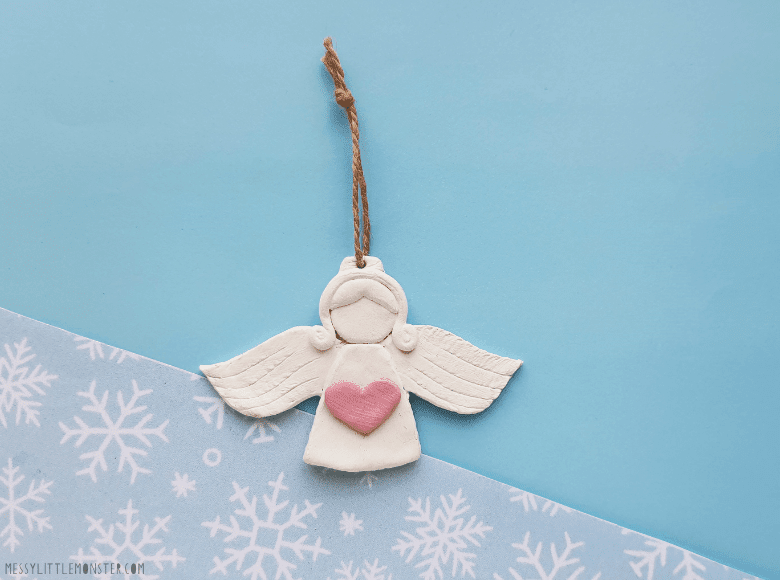
GET YOUR ANGEL TEMPLATE BELOW
To grab this clay angel template for free click on the link below and use the discount code: angel. For personal or classroom use only. Not for redistribution. All images are copyrighted. Thank you.
To grab this clay angel template for free click on the link below and use the discount code: angel. For personal or classroom use only. Not for redistribution. All images are copyrighted. Thank you.

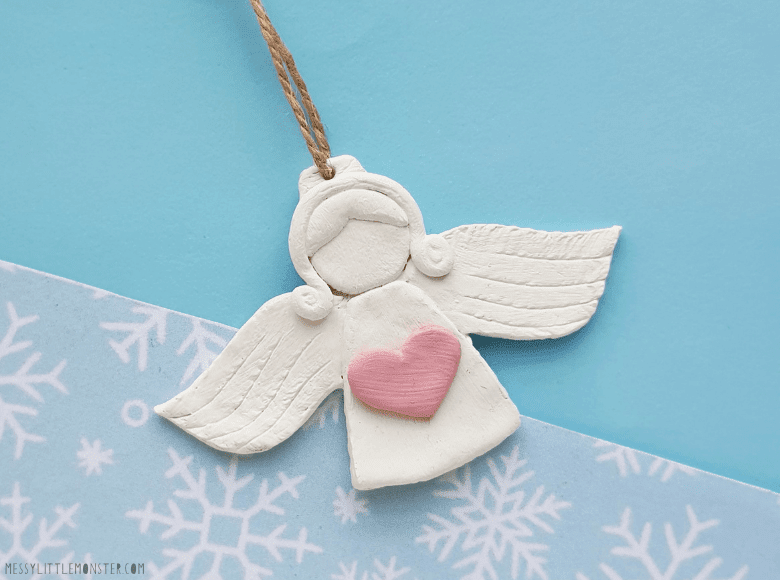

.jpg)
.jpg)
.jpg)
.jpg)
.jpg)
.jpg)
.jpg)
.jpg)
.jpg)

.png)


No comments