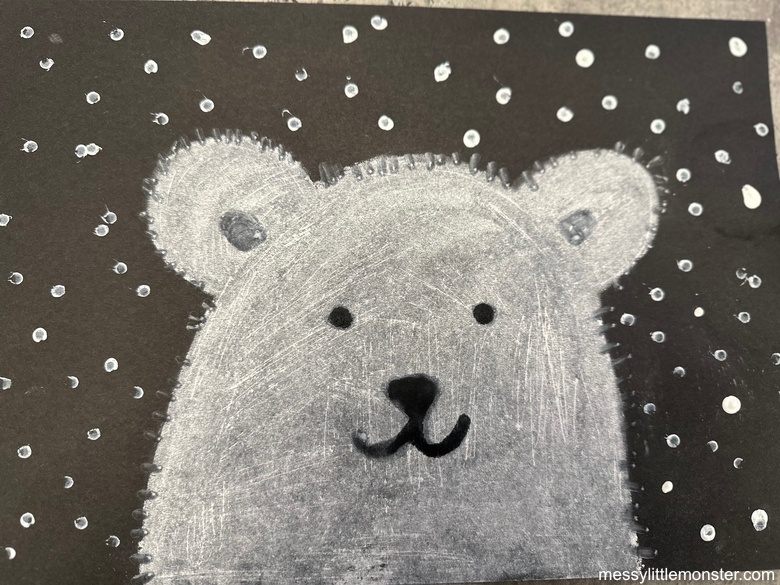
How adorable is this polar bear art project! Learn how to draw a polar bear the easy way using chalk on black paper and then have fun using a little 'magic trick' to give your bear his facial features. As a final touch use a fun painting technique to add snow to your polar bear art project.
You are going to love how easy it is to draw a chalk polar bear using our how-to draw a polar bear tutorial. This polar bear art for kids is easy to create making it suitable for all ages from about age 4. The best thing about this chalk polar bear is that you can add your own fun facial expressions to your bear making him really individual.
This polar bear artwork can be created in quite a short space of time which makes it a great activity for a cold afternoon or as a one-off session for an art club or classroom.
If you are looking for more polar bear art for kids then you must check out our Polar Bear Craft created with a template and potato print painting!
How to Draw a Polar Bear Art Project
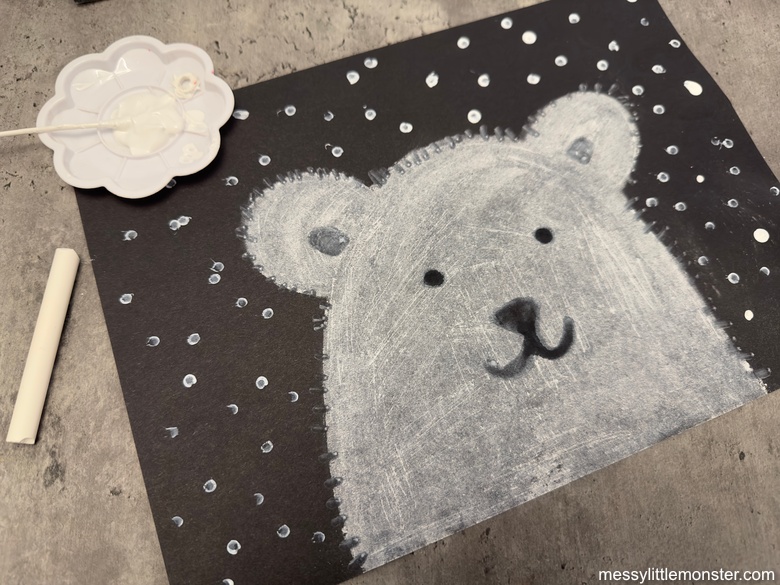
Chalk Polar Bear Art - Supplies
- Black paper or cardstock (A4 size)
- White Chalk
- Q-sticks (cotton buds)
- White paint
- Water
How to Draw a Polar Bear
STEP 1: Draw the polar bear's face and ears
Start by deciding if you would like to have your piece of paper portrait or landscape.
Then using a piece of white chalk draw a large hill shape on your black paper. This is your polar bear's face.
Now draw two smaller hill shapes on top of the polar bear's face, one on each side. (see image below) These are your polar bear's ears.
HINT: You want your polar bear's face to fill a large proportion of the paper. If your paper is portrait you are aiming for your polar bear's face to go from one side of the paper to the other, whereas if it is landscape you will want to leave a little space on either side. (see image below)
STEP 2: Fill the polar bear's face
It is now time to completely fill your polar bear's face and ears with white chalk. Start by colouring the face and ears using your chalk.
Then use a finger to smudge the chalk to create a smooth fur-like effect.
STEP 3: Add facial features to your polar bear
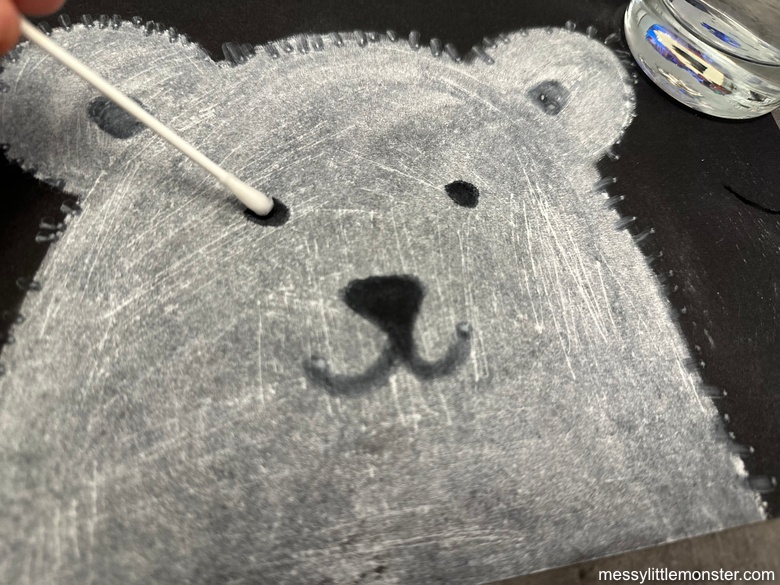
Now for the really fun part that is a little like magic! You are going to use water to create your bear's facial features.
Dip a q-stick into the water and use it to draw the eyes, nose and mouth of your polar bear. The water will remove the chalk revealing the black paper behind the chalk.
If after the water has dried you feel the features are a little light take your water-covered q stick and go over the facial features for a second time to remove any remaining chalk.
Have fun drawing your bear's facial features and make them as unique as you like. Not all polar bears have to look the same.
OPTIONAL - If you want to give your polar bear a furry look take your wet q tip and use it to draw lots of small lines around the edge of the polar bear.
STEP 4: Add snow behind your polar bear
To complete your polar bear art it is fun to add a little snow to the scene. Take a second q tip and this time dip it into white paint. Use the paint-covered q tip to dab small spots of paint above the chalk polar bear to create a snowy effect. Painting with q tips is such a fun painting technique as it creates perfect little circles.
That's it! Your polar bear art project is now complete!
How cute are these chalk polar bears from art club!
It's amazing how quick and effective this chalk polar bear art project is. It is such a simple way to draw a polar bear and the artwork looks so effective.


.png)


.png)


No comments