Looking for a winter craft to surprise your little ones with this December? Well, look no further! Following this tutorial, we'll show you how to make a DIY snow globe with a picture inside.
Related: More snow globe crafts
This magical DIY snow globe with picture is the perfect craft for a magical winter season!
You can surprise your kids with a customisable snow globe where their cute face is the main star or get them involved in making their own.
Using a picture and some budget-friendly materials, you can invite your kids to make this DIY craft and enjoy a super fun craft session.
Follow the easy step-by-step tutorial below on how to make a snow globe and transport your little ones into a winter wonderland!
If you want more crafts inspired by the magic of snow globe, check out this simple DIY Snow Globe, this adorable Snow Globe template to make a photo card, this paper plate snow globe, or try out these Snow Globe coloring pages!
DIY snow globe with picture
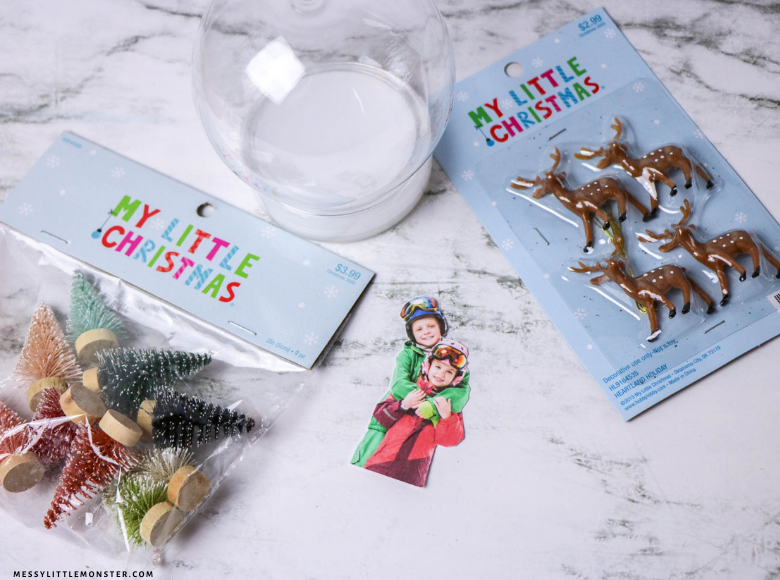
Photo Snow Globe - Supplies:
- Plastic snow globe
- Photograph
- Cardstock
- Laminating pages
- Scissors
- Waterproof glue (hot glue will work)
- Other decorations, if desired
- Glitter
- Water
- ½ teaspoon to 1 teaspoon vegetable glycerin, if desired
How to Make a Snow Globe with a Picture Inside - Directions:
STEP 1: Take a picture of your kids.
Let's get started! The first you need to do is get a picture of your kids. Snap a pic with your smartphone or get out your camera. Try to take it against a white background to make the next steps easier.
STEP 2: Prepare the image.
Using your computer or your smartphone and using an app or image program you will need to re-size the image to fit your snow globe. Once you have the image in the correct size, print it out on card stock and then cut out the image.
STEP 3: Seal the picture.
Grab a laminating sheet and use it to seal the picture. Place the photo on the laminating sheet, heat to seal and then cut out. When you're cutting the edges, leave a sealed edge around all the images to prevent the water inside the globe from ruining the image.
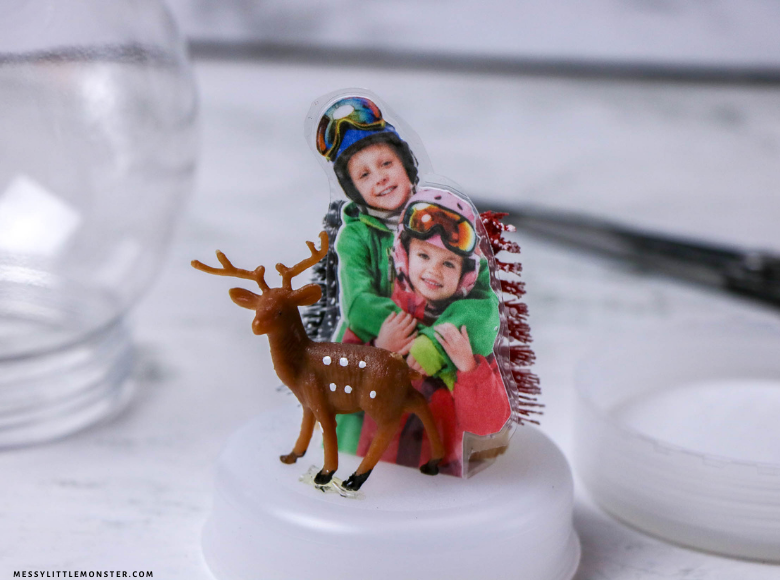
STEP 4: Attach picture to snow globe.
To make the image stand, fold down the bottom part of it.
STEP 5: Add the glittery snow!
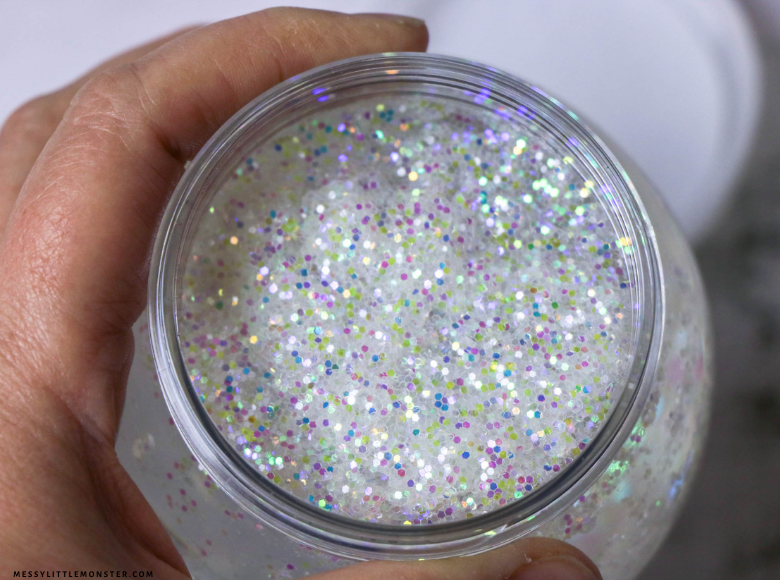
Fill the snow globe with glitter and water and whisk the mixture to scatter the glitter around.

We highly recommend adding a bit of glycerin. Whilst you don't have to add it, it will make the glitter float around for longer and make this snow globe look more enchanting!
STEP 6: Final touches.
As the last step, grab your snow globe and head over to the sink. Fill the snow globe with water. Put the cap back on and allow any excess water to run out. Dry it and replace the cap. And voilá, you're done!
We hope you and your children love making this DIY snow globe with a picture and take full advantage of this magical time of year! Photo snow globes make great gifts and you can use these simple 'How to make a snow globe' directions to make all kinds of original snow globes, so get creative!


No comments